Why choose a DIY calendar from the future puzzle?
Creating your own calendar offers two major advantages: personalization and playful experience. Each mini-puzzle can be chosen according to the taste of the recipient: Christmas scenes, animals, favorite characters, works of art… The choice becomes a game in itself. Then the manufacturing process is already a festive activity. Cutting, organizing and packing the pieces makes your living room creative workshopThe final result? A unique object, which you can frame and preserve as a memory, much more lasting and memorable than a chocolate or a short toy.
How do you create a DIY puzzle advent calendar?
Step 1: Choose the puzzle to transform
It all starts with the puzzle. For a DIY, it is best to choose a complete puzzle, neither too small nor too massive. For children, 50 to 200 pieces are enough; for adults, between 500 and 1000 pieces allows a real challenge without discouraging. The puzzle can be a Christmas classicThe main thing is that it is a model of the artistic world, or even a monochrome puzzle for the challenging enthusiast. adapted to the duration and pace of the You have to be able to divide the puzzle into 24 segments, one for each day.
Step 2: Prepare your mini-packages
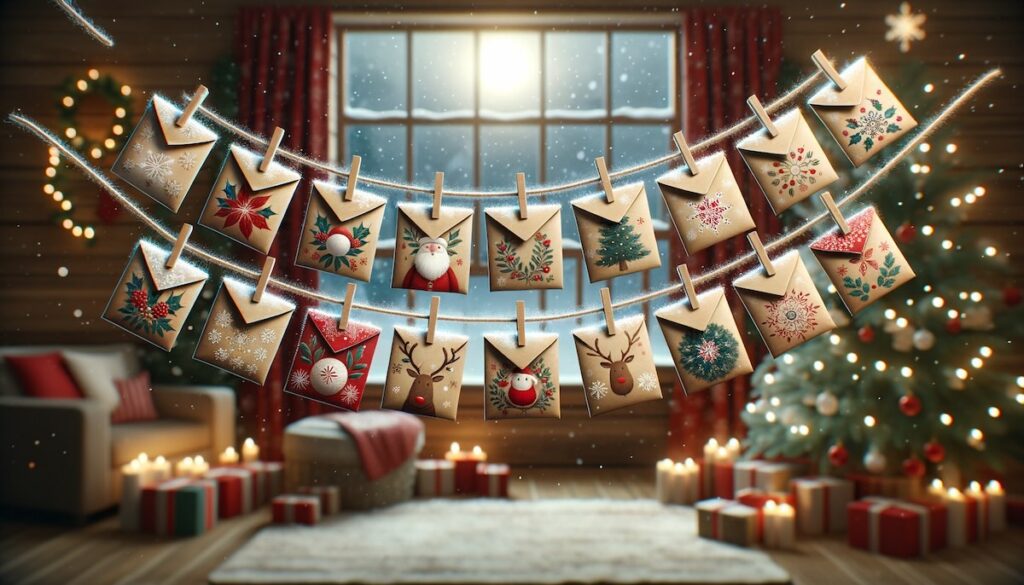
Once the puzzle is chosen, the next step is to cutting the pieces into daily portions. You can create 24 mini-packages by distributing the pieces in a balanced way. For example, for a 500-piece puzzle, 20 to 25 pieces a day is enough to keep a brief but rewarding moment. Each package can be slipped into an envelope, a small box, or even a decorative cloth bag. To add fun, number the packages and vary the sizes: some days can contain more pieces, others less, like a small rhythm-changing surprise effect.
Step 3: Customize each day
The real power of DIY is personalization. messages, clues or small surprises In each package: a soft word, a mini-gadget, a guess or a little chocolate in addition to the puzzle. For children, it will be a mix of game and suspense; for adults, a creative and aesthetic challenge. Some even choose to create a The theme of the story, where each mini-puzzle tells a part of a story until December 24. The DIY transforms each opening into an event, rather than an automatic gesture.
Step 4: Set up your calendar
The calendar can be hung on a wall, placed on a shelf, or stored in a special box. to stage the experience : a cosy atmosphere with a hot drink, a soft light and perhaps a festive musical background. The idea is to create a small daily ritual, where the moment of opening the package becomes a moment to enjoy, alone or as a family. This ritual is at the heart of the DIY experience and transforms the simple activity of puzzle into a A true celebration of the coming.
Step 5: Finish and keep the puzzle
As December progresses, the puzzle takes shape. On December 24, you get the full picture: a tangible result of your patience and creativity. glue the puzzle and framing the puzzle to make it a lasting memory or a personalized Christmas decoration. Unlike classic calendars, your DIY puzzle is not disposable: it becomes an object loaded with memories, unique and to revisit every year if you wish.
Other Tips
- For the little ones, you prefer colorful, simple puzzles.
- For adults, you can play with complex puzzles or monochrome themes.
- Change the number of pieces per day to keep the suspense going.
- Think about adding narrative or humorous elements to make each day special.
- If you lack material, envelopes, recycled boxes or cloth bags are sufficient for original and economical rendering.
A brief summary
- Choose a puzzle that is appropriate for your age and level
- Cut it into 24 balanced mini-packets
- personalize each day with messages or surprises
- set up a cosy and ritualistic space for daily opening
- put together the final puzzle and keep it as a decoration or souvenir
FAQ: diy calendar of the future puzzle
What puzzle to choose for a DIY?
200 pieces for children, 500-1000 pieces for adults, depending on the level and duration of the visit.
Can we include anything other than the pieces?
Messages, mini gadgets, chocolates, or clues can enrich each package.
How long to prepare the DIY?
Count to 1-2 hours for an average puzzle, depending on the level of customization.
Can the puzzle be kept?
Yes, stick it together and frame it into a souvenir or a lasting Christmas decor.

Échanger autour de cet articleUne question ou une expérience à partager ?