
In short
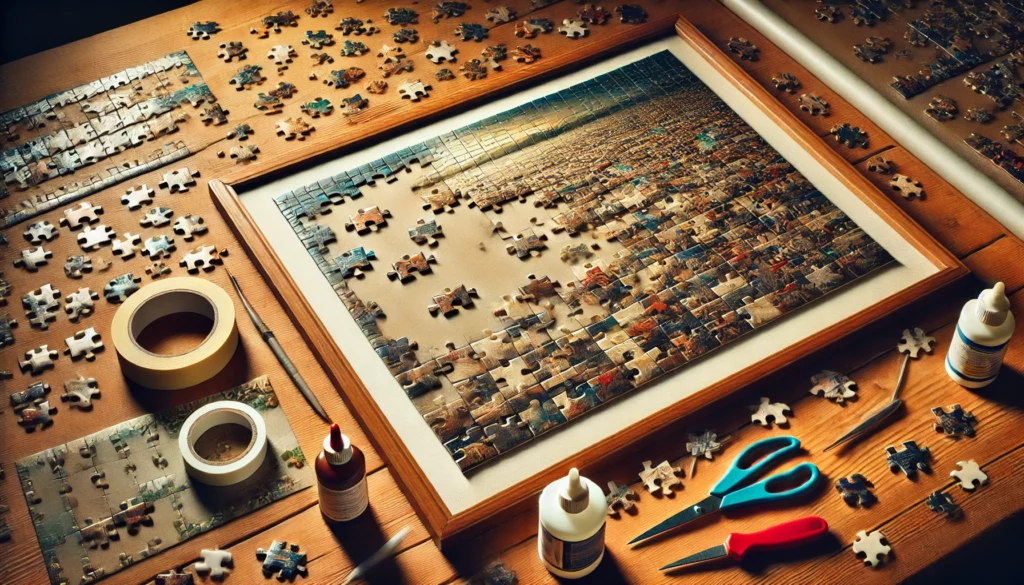
- Why stick a puzzle? To preserve your work and to expose it without risk of its disintegration.
- The methods that may be used: special liquid puzzle glue, spray glue, adhesive sheets or ribbons.
- Choose your glue well: prefer a clear, acid-free glue that is durable over time.
- Key steps: Prepare the surface, turn the puzzle, apply the glue, smooth, let dry for 24 hours.
- Other: For brighter rendering and enhanced protection.
- The following framework: A robust frame with a sublime rigid background and protects your puzzle.
The different methods of gluing a puzzle
First, you have to know that there are several approaches to gluing a puzzle. You can choose a method with glue or even without. The glue-free method usually involves using rigid supports such as boards or boards, but it is less durable, especially if you want to expose your puzzle over the long term.
The classic method, and the one we will detail here, is based on the use of special glue for puzzle. This product was designed to adhere to the pieces while leaving no visible residue, which is essential to preserve the aesthetics of your work. This is especially true if you are looking for a gluing a wooden puzzleThe thicker surface needs careful application to achieve a strong and durable fixation.
Glue for puzzle: Choose the right product
There are different glue types for puzzle collage, and choosing the right one can make all the difference. Glue for liquid puzzles or the in spray glue.
Gel glues are often a good choice for a precise application. They allow to work slowly and avoid the sprinkling. The advantage of these glues is that they do not change the color of the pieces of the puzzle, unlike more ordinary glues that can, for example, yellow over time.
It is also important to choose a glue that is resistant to time, preferably without acid, so as not to alter the colors of the puzzle or the materials over the years.
Glue tapes and sheets: another method
In addition to liquid glue, there are also adhesive tapes and of glue sheets These solutions are ideal for those who prefer a less dirty and faster method. adhesive tapes are usually used to fix the edges of the puzzle and avoid it being distorted during the bonding. They ensure that the pieces remain in place without applying an excessive amount of glue.
The glue sheetsBut they’re sticky sheets that cover the surface of the puzzle. Once you’ve finished putting together the puzzle, you take off the sheet and apply it all over the surface. This method is particularly useful for medium-sized puzzles, as it avoids the need to handle the application of liquid glue too precisely. However, it may be less durable than liquid glue, especially for large pieces or puzzles exposed in places subject to moisture.
Glue to preserve your puzzle
Choose a glue that is compatible with the material and finish of your puzzle, and then follow its application and drying instructions. comparative puzzle glue The product is not a product of the same type.
Cet article contient des liens d’affiliation. Si vous effectuez un achat via ces liens, nous pouvons percevoir une commission, sans frais supplémentaires pour vous. As an Amazon Associate I earn from qualifying purchases.

Colle Puzzles – Clementoni 200ml
View 1 more offers

Colle Puzzle – Cléopâtre 250g
Product prices and availability are accurate as of the date/time indicated and are subject to change. Any price and availability information displayed on Amazon at the time of purchase will apply to the purchase of this product.

Colle Puzzle – Nariolar 120ml
Product prices and availability are accurate as of the date/time indicated and are subject to change. Any price and availability information displayed on Amazon at the time of purchase will apply to the purchase of this product.
Getting a Puzzle: Steps to Take
Once the glue is chosen, it’s time to move on.
- Preparation of the surface
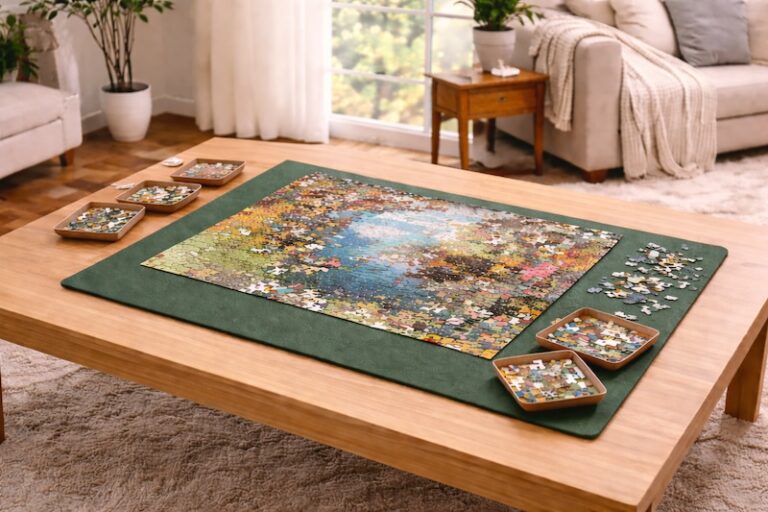
Start by choosing a flat, stable and clean surface to work with. A space large enough to accommodate the entire puzzle is essential. Also make sure that the surface is protected with a sheet or an old sheet to avoid glue splashes. - Put the puzzle back
If your puzzle is on a table, the first step is to carefully turn it around. This is the back of the puzzle you’re going to stick to. For this step, it is recommended to use a roll of plastic film or a sheet of paper to protect and maintain the parts. Be careful not to move the pieces. - Apply the glue
If you use liquid glue, apply it with a brush, spreading it evenly over the surface. If you prefer to use spray glue, spray it at a reasonable distance to avoid leakage. It is important not to put too much of it in, as this could make the work too wet and deteriorate the parts. It is best to apply a thin layer and let it dry before adding another layer if necessary. - Getting the Puzzle
After applying the glue, let it dry for a few hours. Once the glue is fixed, use a roller to smooth the puzzle and avoid any deformation. It is essential to ensure that the glue has penetrated well between the pieces without making a large thickness. - Let it dry
Once the puzzle is pasted, let it dry for at least 24 hours in a dry place. Be careful not to move or touch it during this period. This allows the glue to harden completely and fix the pieces between them.
Is it necessary to paint a stuck puzzle?
After pasting your puzzle, it may be tempting to give it a shiny or satin finish. However, a varnish is not always necessary. If you want to keep the original aspect of the puzzle, the glue itself is enough to keep the pieces together without altering the shine of the image.
On the other hand, if you want to give your puzzle a smoother and more sturdier look, you can apply a transparent varnishIt will add a layer to protect against moisture, dust and scratches.
How to frame a puzzle: How to highlight your work
Once your puzzle is glued, it’s time to highlight it. The frame is the key element that will not only protect your puzzle, but also give it a finished and professional look. Here are some tips for good framing your puzzle.
- Choosing a suitable setting
The frame must be slightly larger than the puzzle itself to leave space between the edges of the puzzle and the frame. Make sure the frame is strong enough to support the weight of the puzzle, especially if it is large. The best puzzle frames They offer both robustness, dimension precision and ease of installation, while highlighting your creation without visually crushing it. - Use a rigid background
For the puzzle to be not distorted over time, it is advisable to use a rigid support behind the pieces. Foam or rigid cardboard panels can do the job. This helps to maintain the structure of your puzzle during the frame. - Fixing the puzzle in the frame
There are several options for fixing a puzzle in a frame. You can use double-sided adhesive tape or fixing points to ensure that the puzzle stays in place without risking to detach. - Hanging on to your work
Once the frame is mounted, you can hang your puzzle. Make sure the wall can withstand the frame’s weight and that it is well centered for optimal presentation.
The Commission
Getting a puzzle together is a simple process but it requires patience and attention to detail. By choosing the right materials and following the right steps, you can turn a simple puzzle game into a durable artwork that will decorate your space for years to come. So don’t rush, and take the time to do things right. Your puzzle deserves to be carefully immortalized.
.glue-product-carousel .nw-product-image>a{height:180px;display:flex;align-items:center;justify-content:center}.glue-product-carousel .nw-product-image img{width:auto!important;height:auto!important;max-width:100%!important;max-height:180px;object-fit:contain}.glue-product-carousel .nw-carousel-card h3{min-height:42px;line-height:1.4}.glue-product-carousel .nw-product-offers{align-items:center;text-align:center}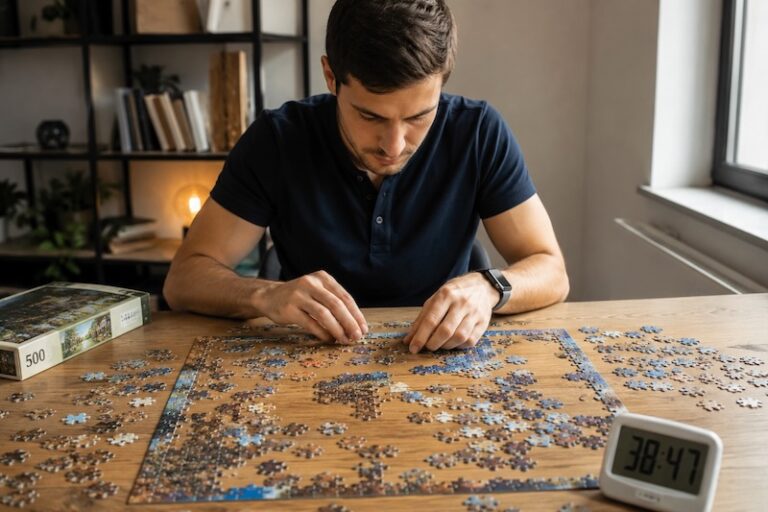
Discuss this articleHave a question or an experience to share?